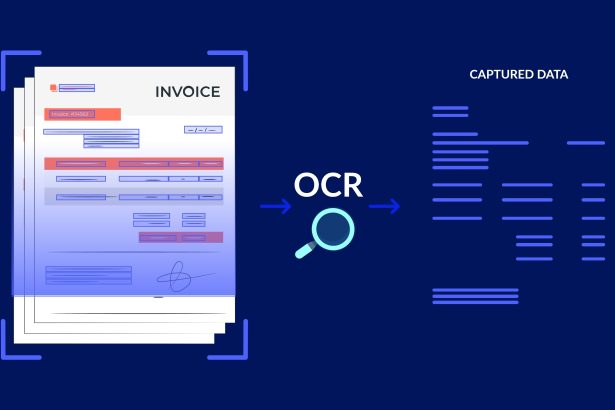

Optical character recognition can feel like magic when it works — and maddening when it doesn’t. The gap between a perfect text dump and a page of gibberish usually comes down to a few predictable issues: poor image capture, wrong preprocessing, and lax validation. In this article I share practical steps that cut error rates and save time, based on years of scanning invoices, receipts, and research papers. Read on and you’ll get a compact toolkit for improving OCR outcomes on everyday documents and tricky originals alike.
Capture quality: start with the right image
Good OCR begins before the software ever runs: get clean, well-lit photos. Aim for high resolution (300 dpi or higher for text documents) and keep the camera parallel to the page to avoid trapezoidal distortion. If you’re using a phone, steady the device or use a scanning app that auto-crops and flattens perspective. Also, remove distracting backgrounds and ensure margins are visible so the OCR engine can detect page boundaries.
Lighting and contrast matter more than megapixels; soft, even light reduces shadows and preserves faint ink. When dealing with glossy paper, change the angle of light or use polarized lenses to avoid specular highlights. For handwritten notes, increase exposure slightly and keep ISO low to reduce grain. In one project digitizing decades of lab notebooks, improving lighting alone cut OCR errors by almost half.
Preprocessing that helps OCR
Preprocessing transforms a raw image into something an OCR engine can digest reliably, and simple steps often yield the biggest gains. Common operations include deskewing, noise reduction, contrast enhancement, binarization, and cropping to content. You can implement these with tools like OpenCV or use built-in features in commercial scanners; the goal is to present text as crisp, isolated strokes against a uniform background.
Knowing which preprocess to use is important because each has trade-offs: aggressive binarization can crush light text, while soft denoising may leave speckles that confuse recognition. Below is a compact reference showing when three common operations are most useful and what they fix.
| Operation | Primary effect | When to use |
|---|---|---|
| Deskew | Straightens text lines | Photos with rotation or perspective distortion |
| Binarization | Converts to black-and-white | High-contrast printed text or noisy backgrounds |
| Denoising | Removes speckle and compression artifacts | Old scans, low-light photos, low-quality compression |
Choose the right OCR engine and settings
Not all OCR engines are equal: Tesseract, ABBYY, Google Cloud Vision, and Amazon Textract each have strengths and weaknesses depending on language, layout, and handwriting. Try a few on sample pages to see which handles your fonts and columns best. Pay attention to language packs, script selection, and page segmentation modes — telling the engine whether to expect a single column, a table, or multi-column layout can dramatically improve accuracy.
Training or fine-tuning can be a game-changer for unusual fonts or specialized symbols; Tesseract supports custom training, and several commercial products offer adaptive models. Also leverage engine options like character whitelists/blacklists to prevent unlikely substitutions (for example, excluding letters in numeric-only fields). In my invoice-processing work, enabling numeric-only modes for invoice totals reduced digit errors by over 70 percent.
Postprocessing and validation
OCR rarely produces perfect text, so postprocessing is where you regain control and enforce domain rules. Run spell-checkers and language models to correct common OCR mistakes, use regex to validate predictable fields like dates and invoice numbers, and apply dictionaries customized to your content (product codes, legal terms, or names). For tabular data, reconstruct cell boundaries from layout analysis before interpreting numbers, which prevents misaligned digits from slipping through.
Confidence scores provided by many OCR APIs are invaluable: route low-confidence segments to human review or a secondary recognition pass with altered preprocessing. Keep an audit trail of corrections and sample them periodically to find recurring errors that can be fixed upstream. Over time you’ll discover that a small set of regex rules and a short dictionary of domain terms resolves most remaining errors automatically.
Quick checklist: the 12 best tips
Here is a compact checklist to apply when you need consistent, accurate extractions across many images. Use it as a pre-scan and post-scan checklist to reduce rework and speed downstream processing.
- Capture at 300 dpi or higher; keep the camera parallel to the page.
- Ensure even lighting; avoid glare and heavy shadows.
- Crop tightly to content and include visible margins.
- Deskew and straighten pages before recognition.
- Reduce noise and remove background artifacts.
- Adjust contrast; use adaptive binarization when appropriate.
- Select correct language and script packs for the engine.
- Choose proper page segmentation mode for columns or tables.
- Whitelist/blacklist characters for constrained fields.
- Apply post-OCR spellcheck, dictionaries, and regex rules.
- Use confidence scores to triage manual review.
- Log corrections and refine preprocessing iteratively.
Combining these steps into a reproducible workflow pays dividends: less time chasing errors, and more time using the extracted data. Start with simple fixes like better lighting and deskewing, then add engine tuning and postprocessing as needed. With modest effort you can turn OCR from a hit-or-miss experiment into a reliable part of your document pipeline.